Jericho Control Panel Construction
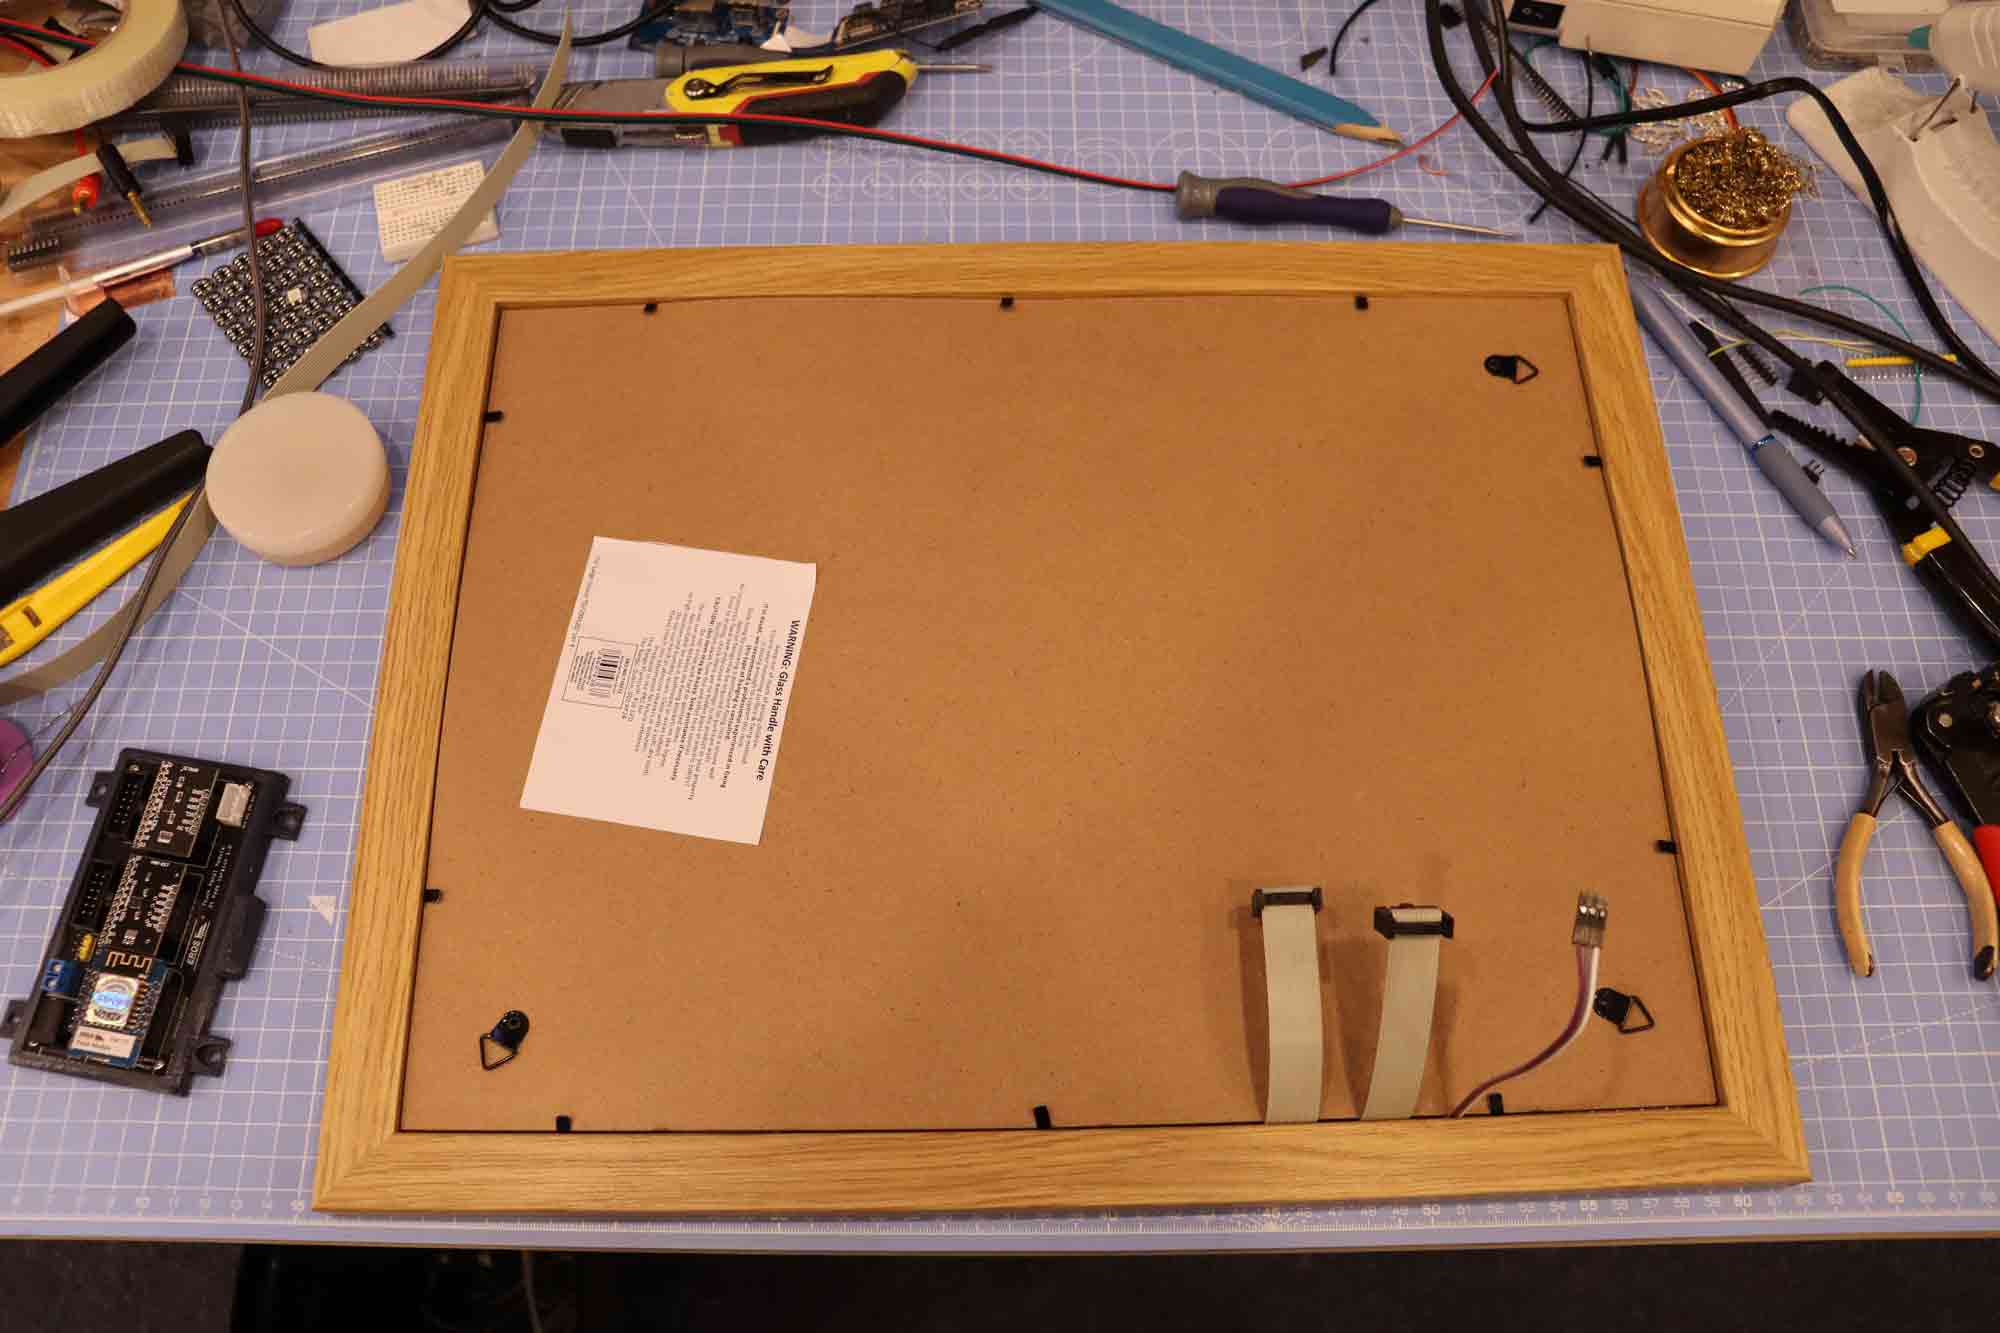
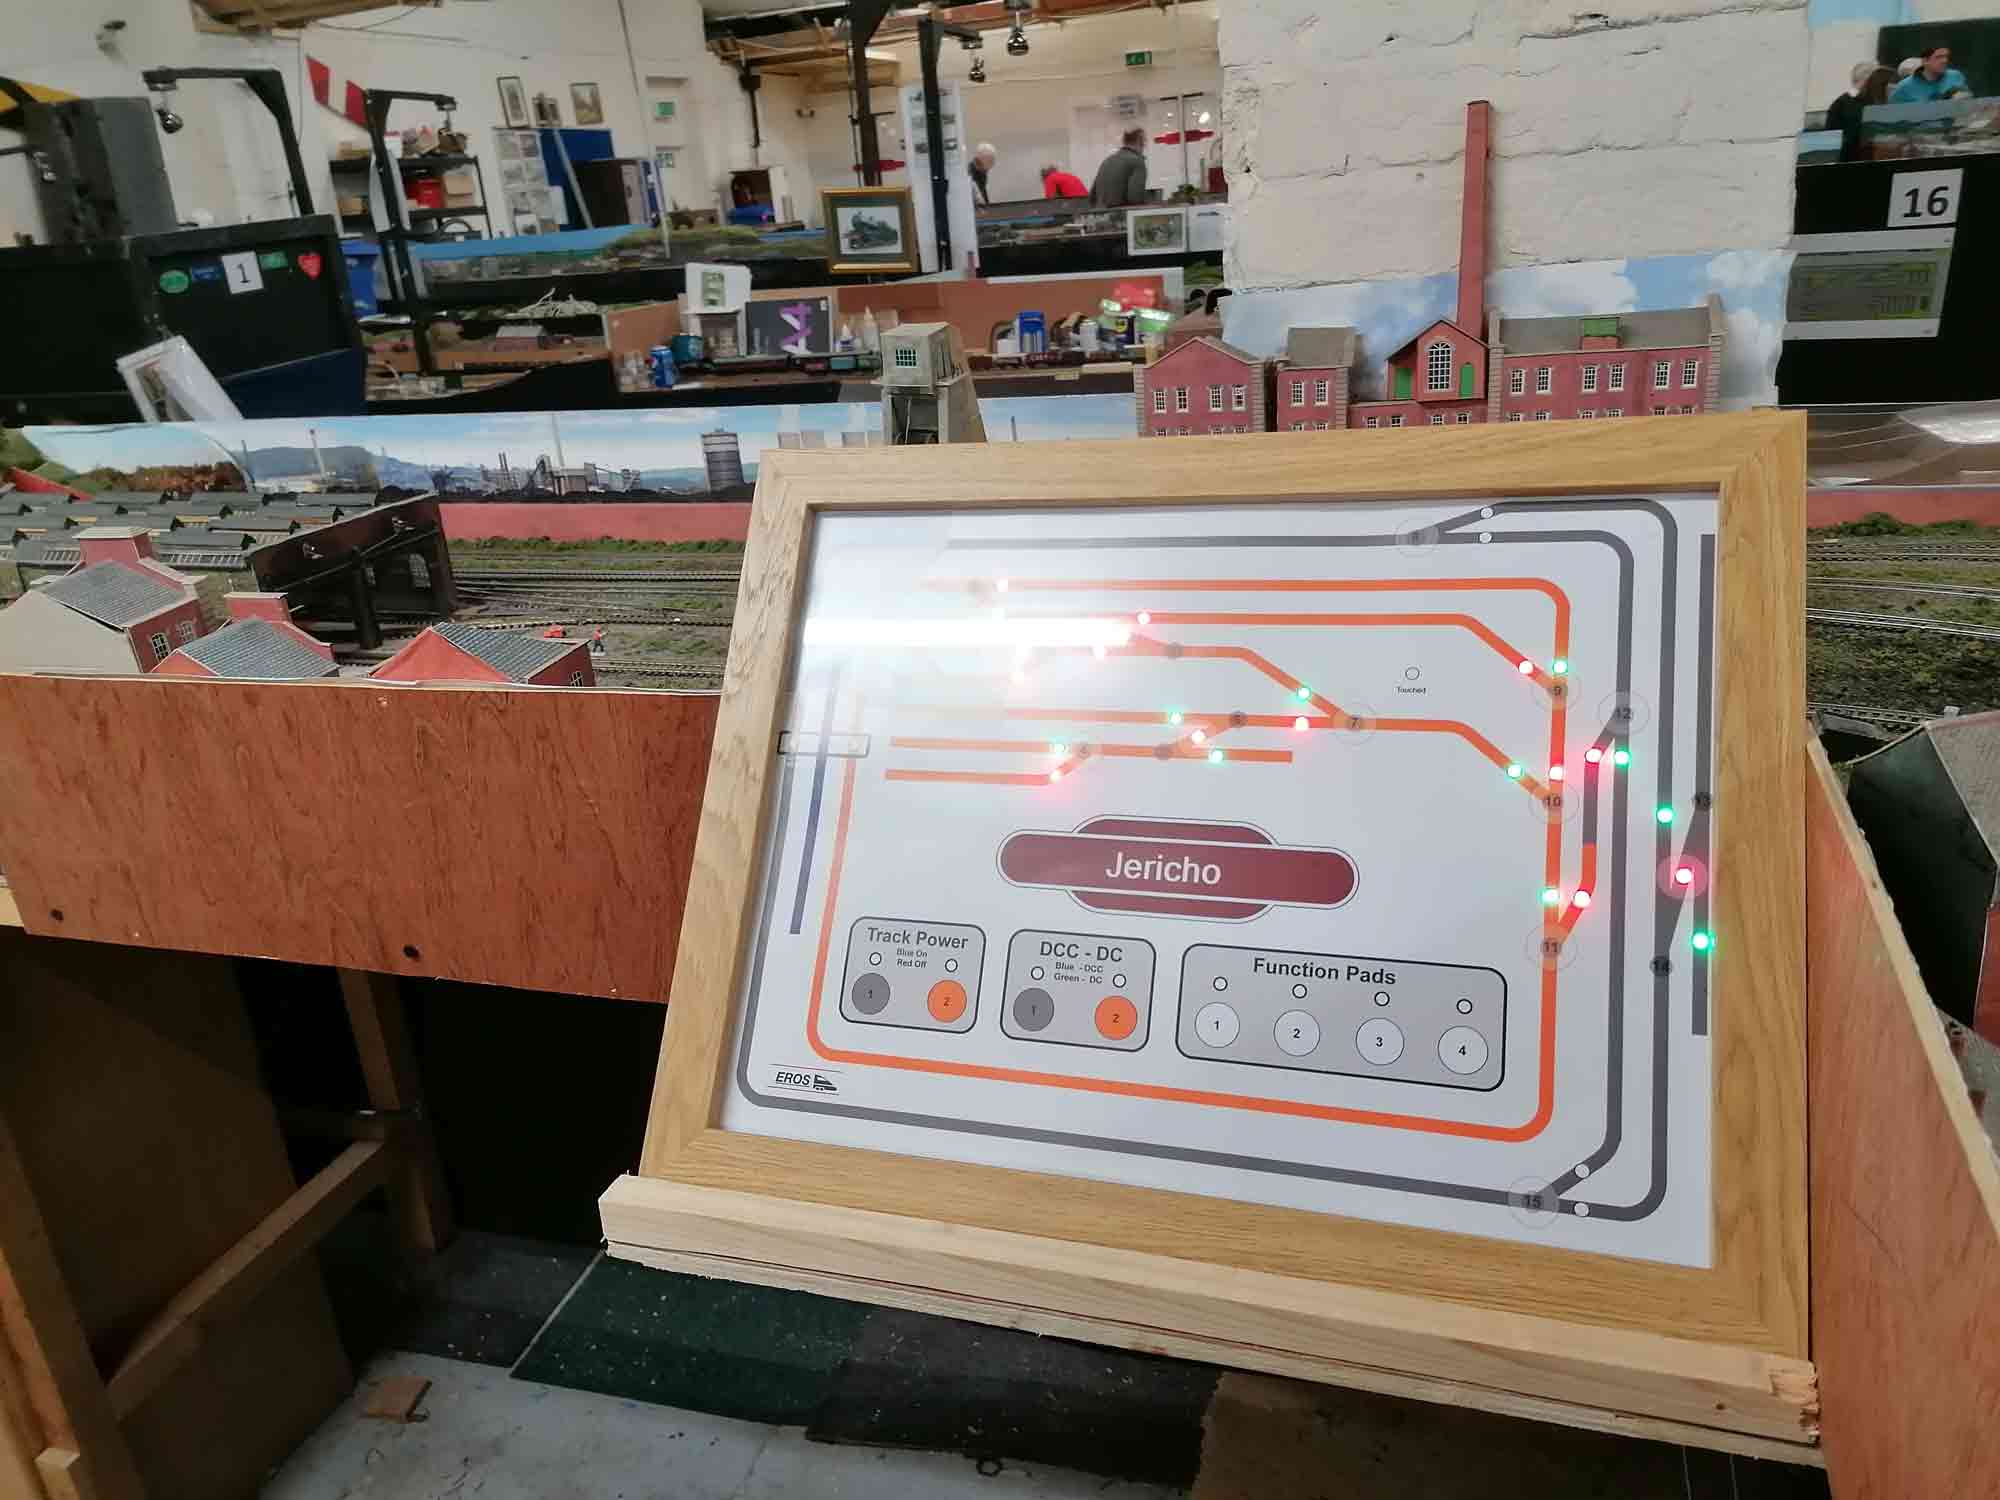
Jericho uses a wireless touch control panel built into an unmodified A3 picture frame.
The construction is very simple and you can see the various stages of construction below.
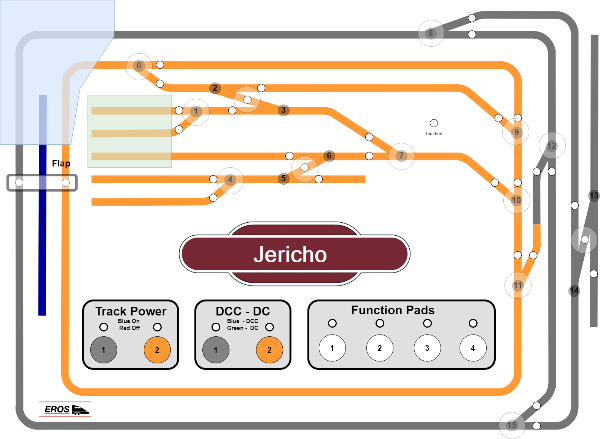
Construction starts by designing your control panel using whatever computer software you are comfortable with.
I use draw.io which is free to download and use.
When you have completed your design print out 2 copies on photo paper or cardstock, something thick which will make the mounting of components easier.
There are printing services which will print out your images on suitable paper for a small fee if your printer is not big enough.
The next stage is to punch holes for the LEDs into one of your pictures.
The LED's are individually addressable WS2812B LED's and are very slim. I found that punching a 6mm hole allows them to be mounted well.
I got my 6mm punch on amazon.
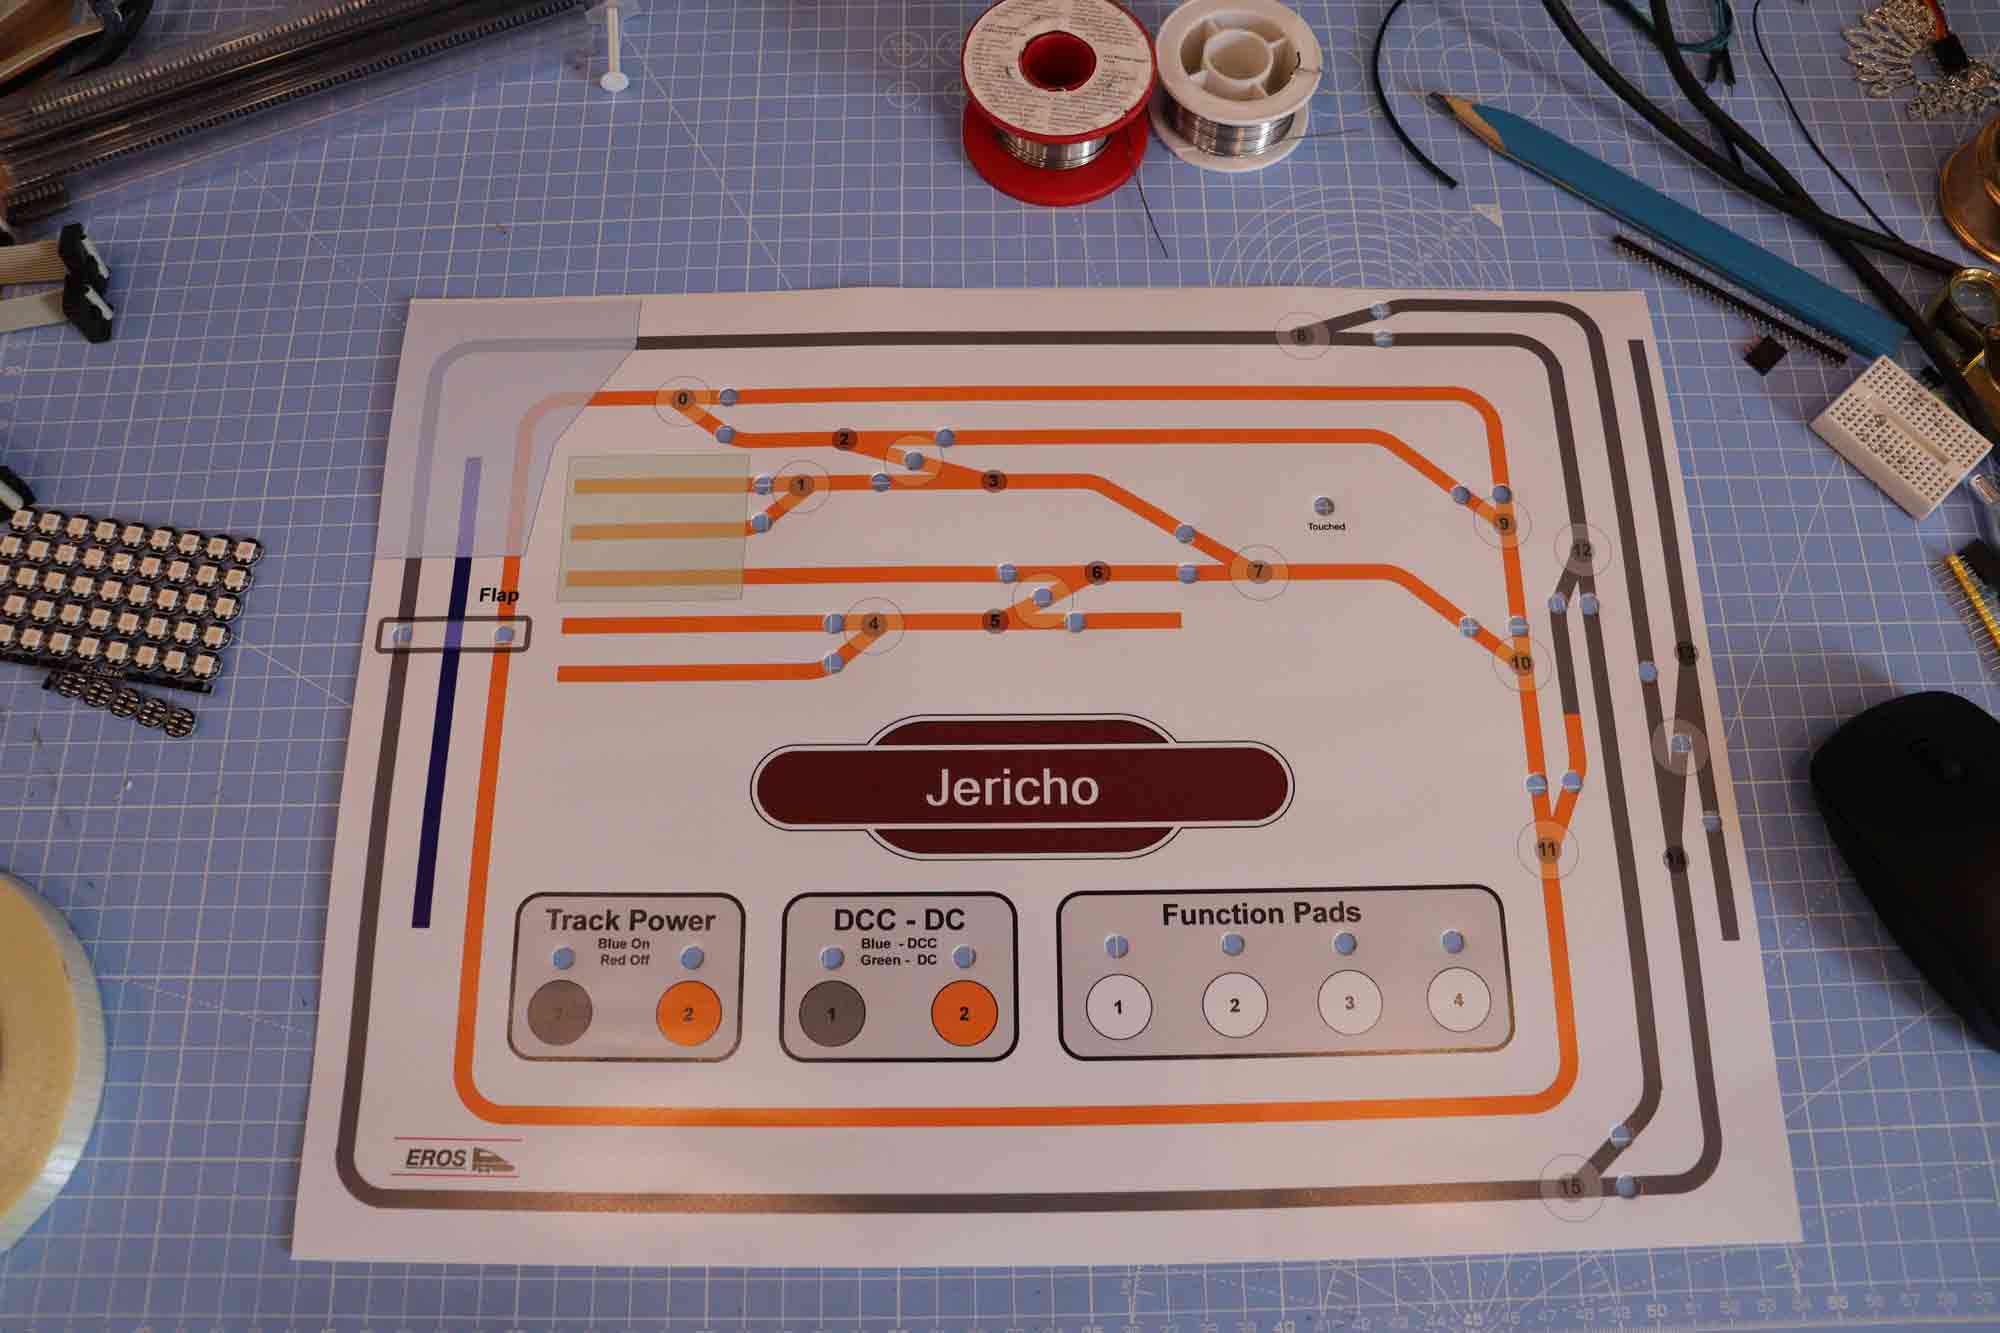
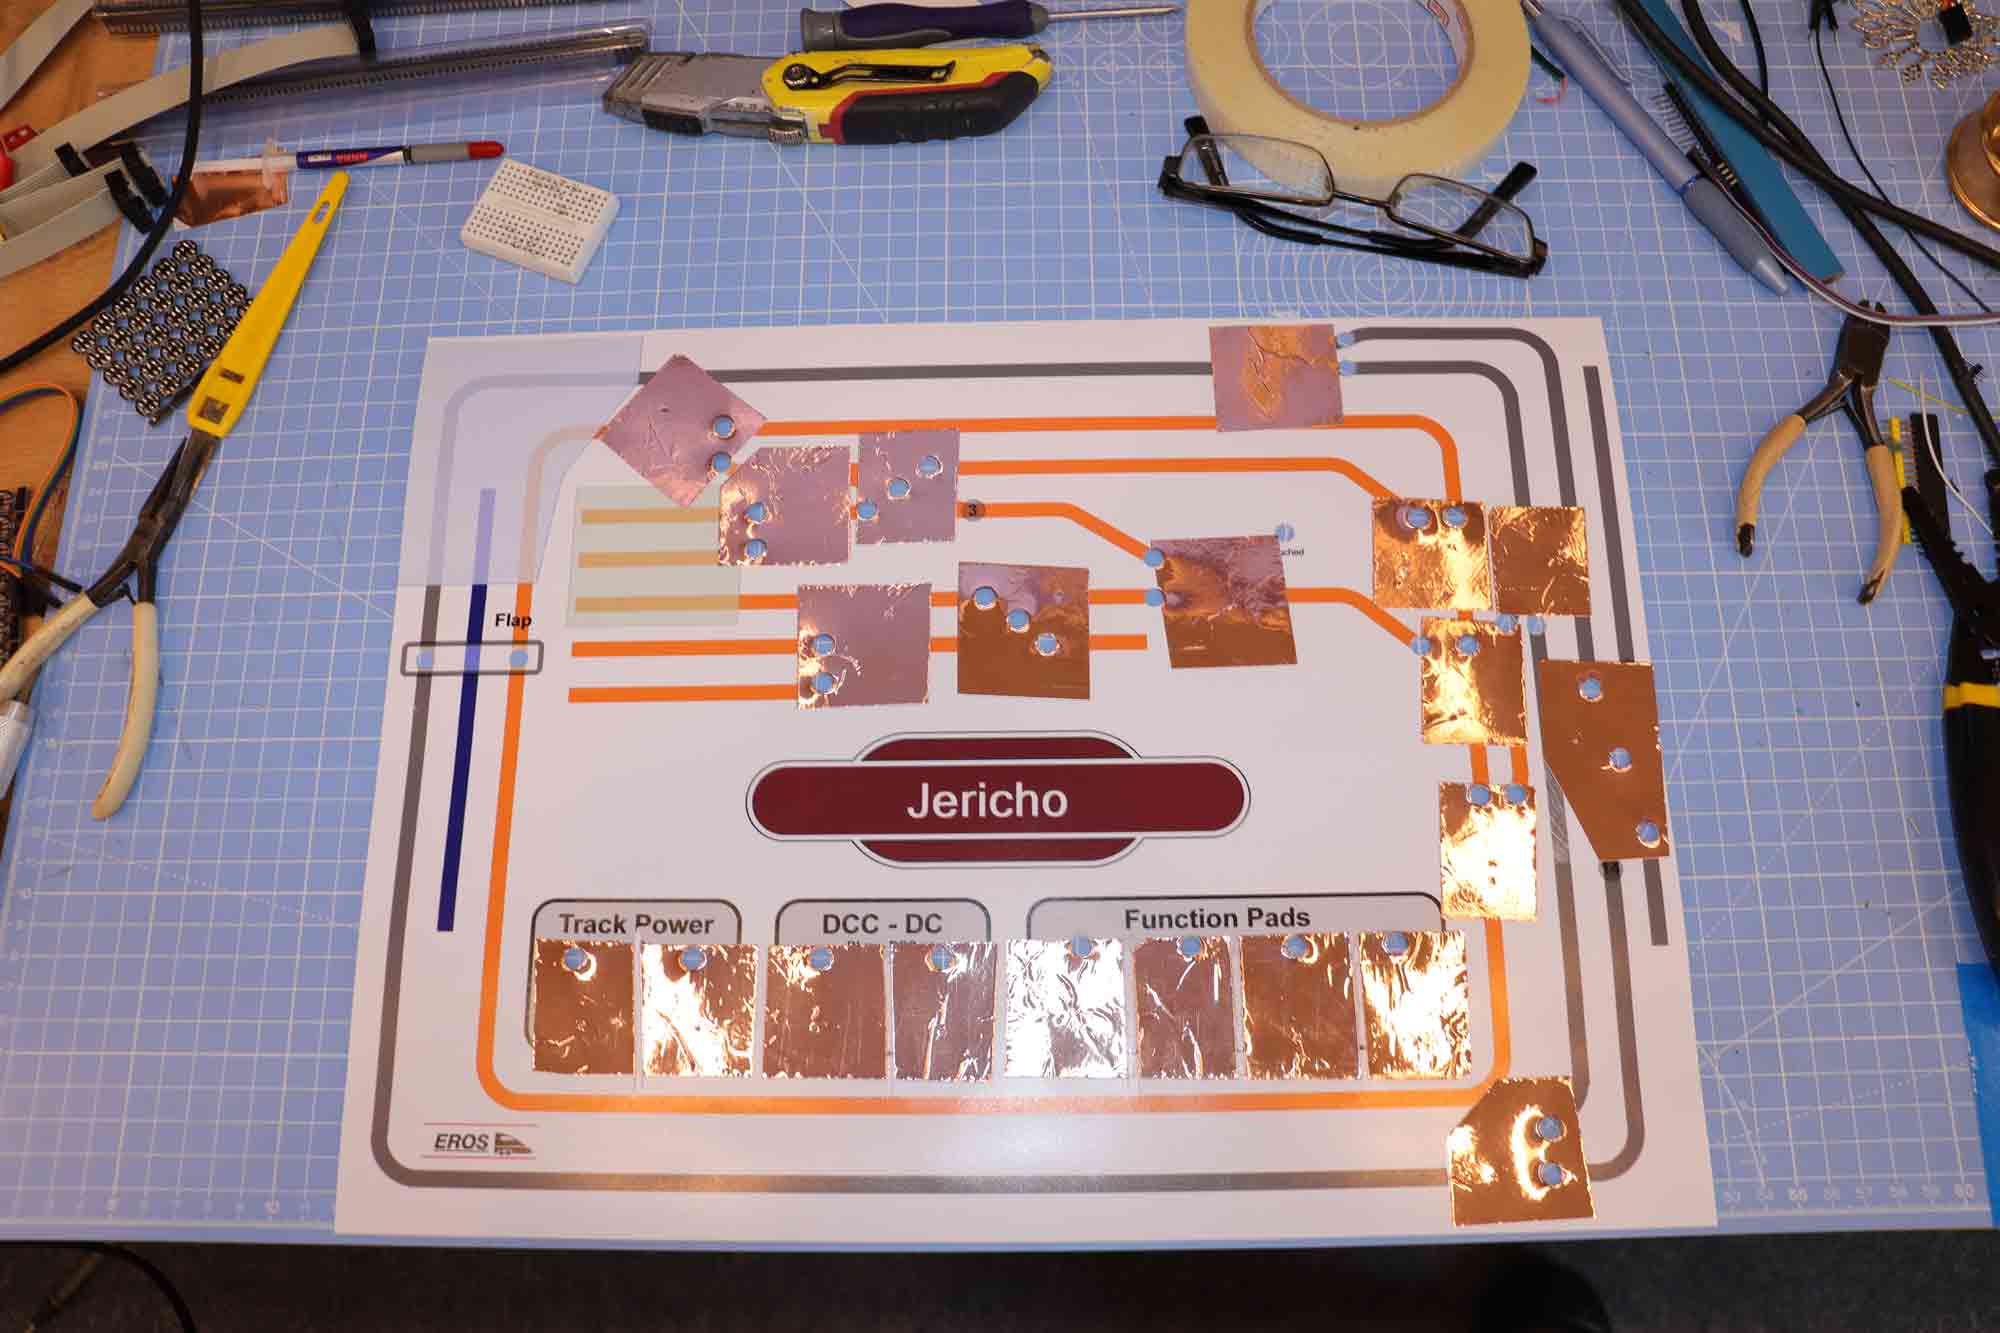
The next stage is to stick on the touch pads.
These are simply squares of self adhesive copper foil.
They need to be a reasonable size to be able to detect the presence of your finger through glass or acrylic.
30 to 40mm square is about right.
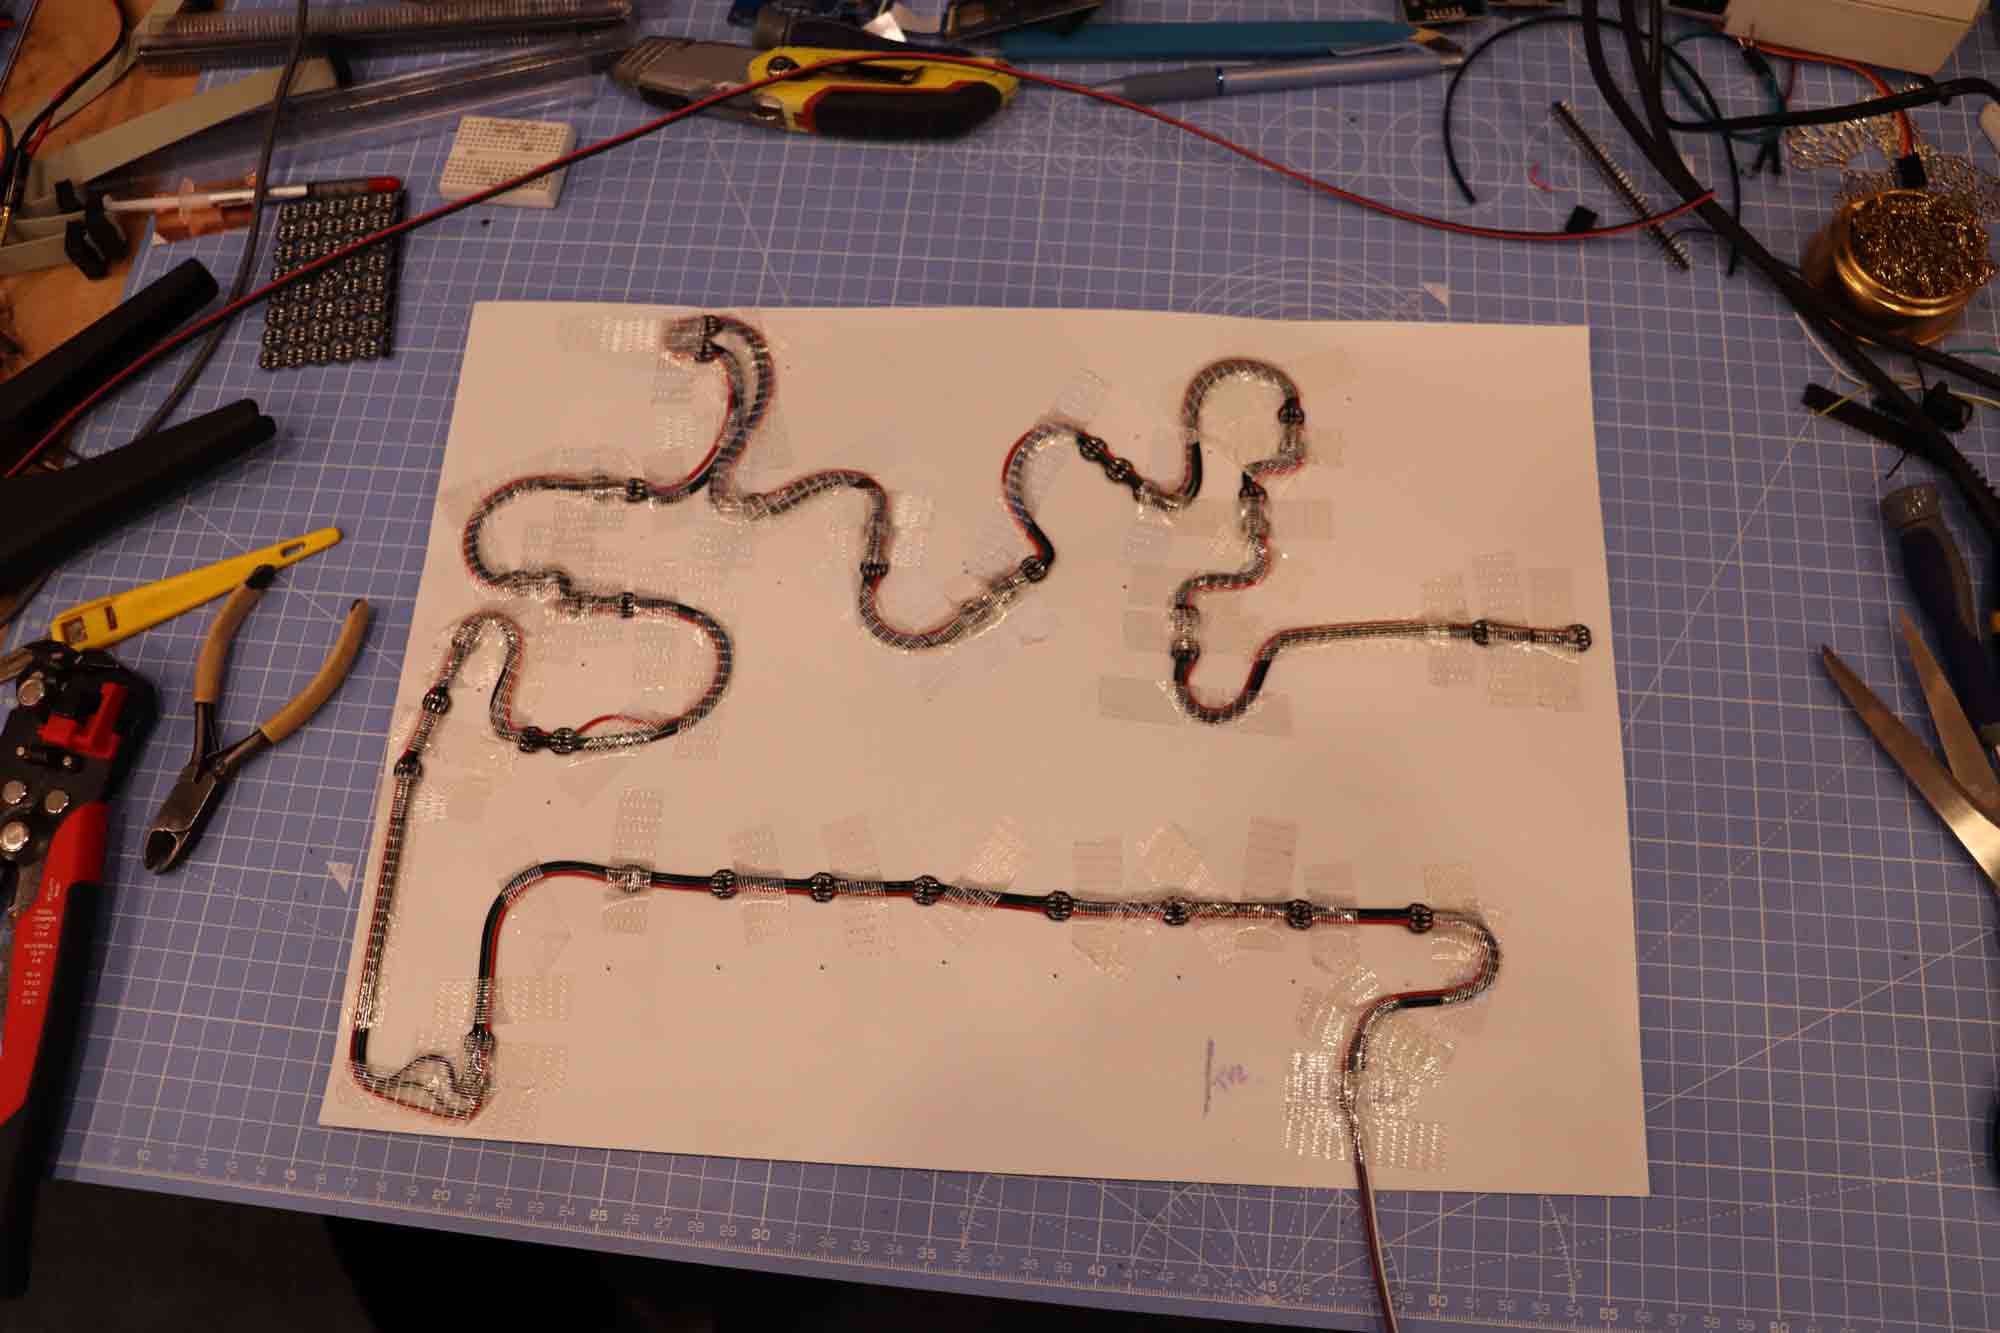
The next stage is to mount and wire the LEDs
The LEDs are simply connected in a daisy chain fashion.
They have 3 contacts at one side of the LED and 3 on the other.
One side has inputs, 5v and data in and the other side has outputs 5v and data out.
Simply connect the outputs of one LED to the input of the other until all the LEDs have been connected.
This greatly simplifies the control panel wiring.
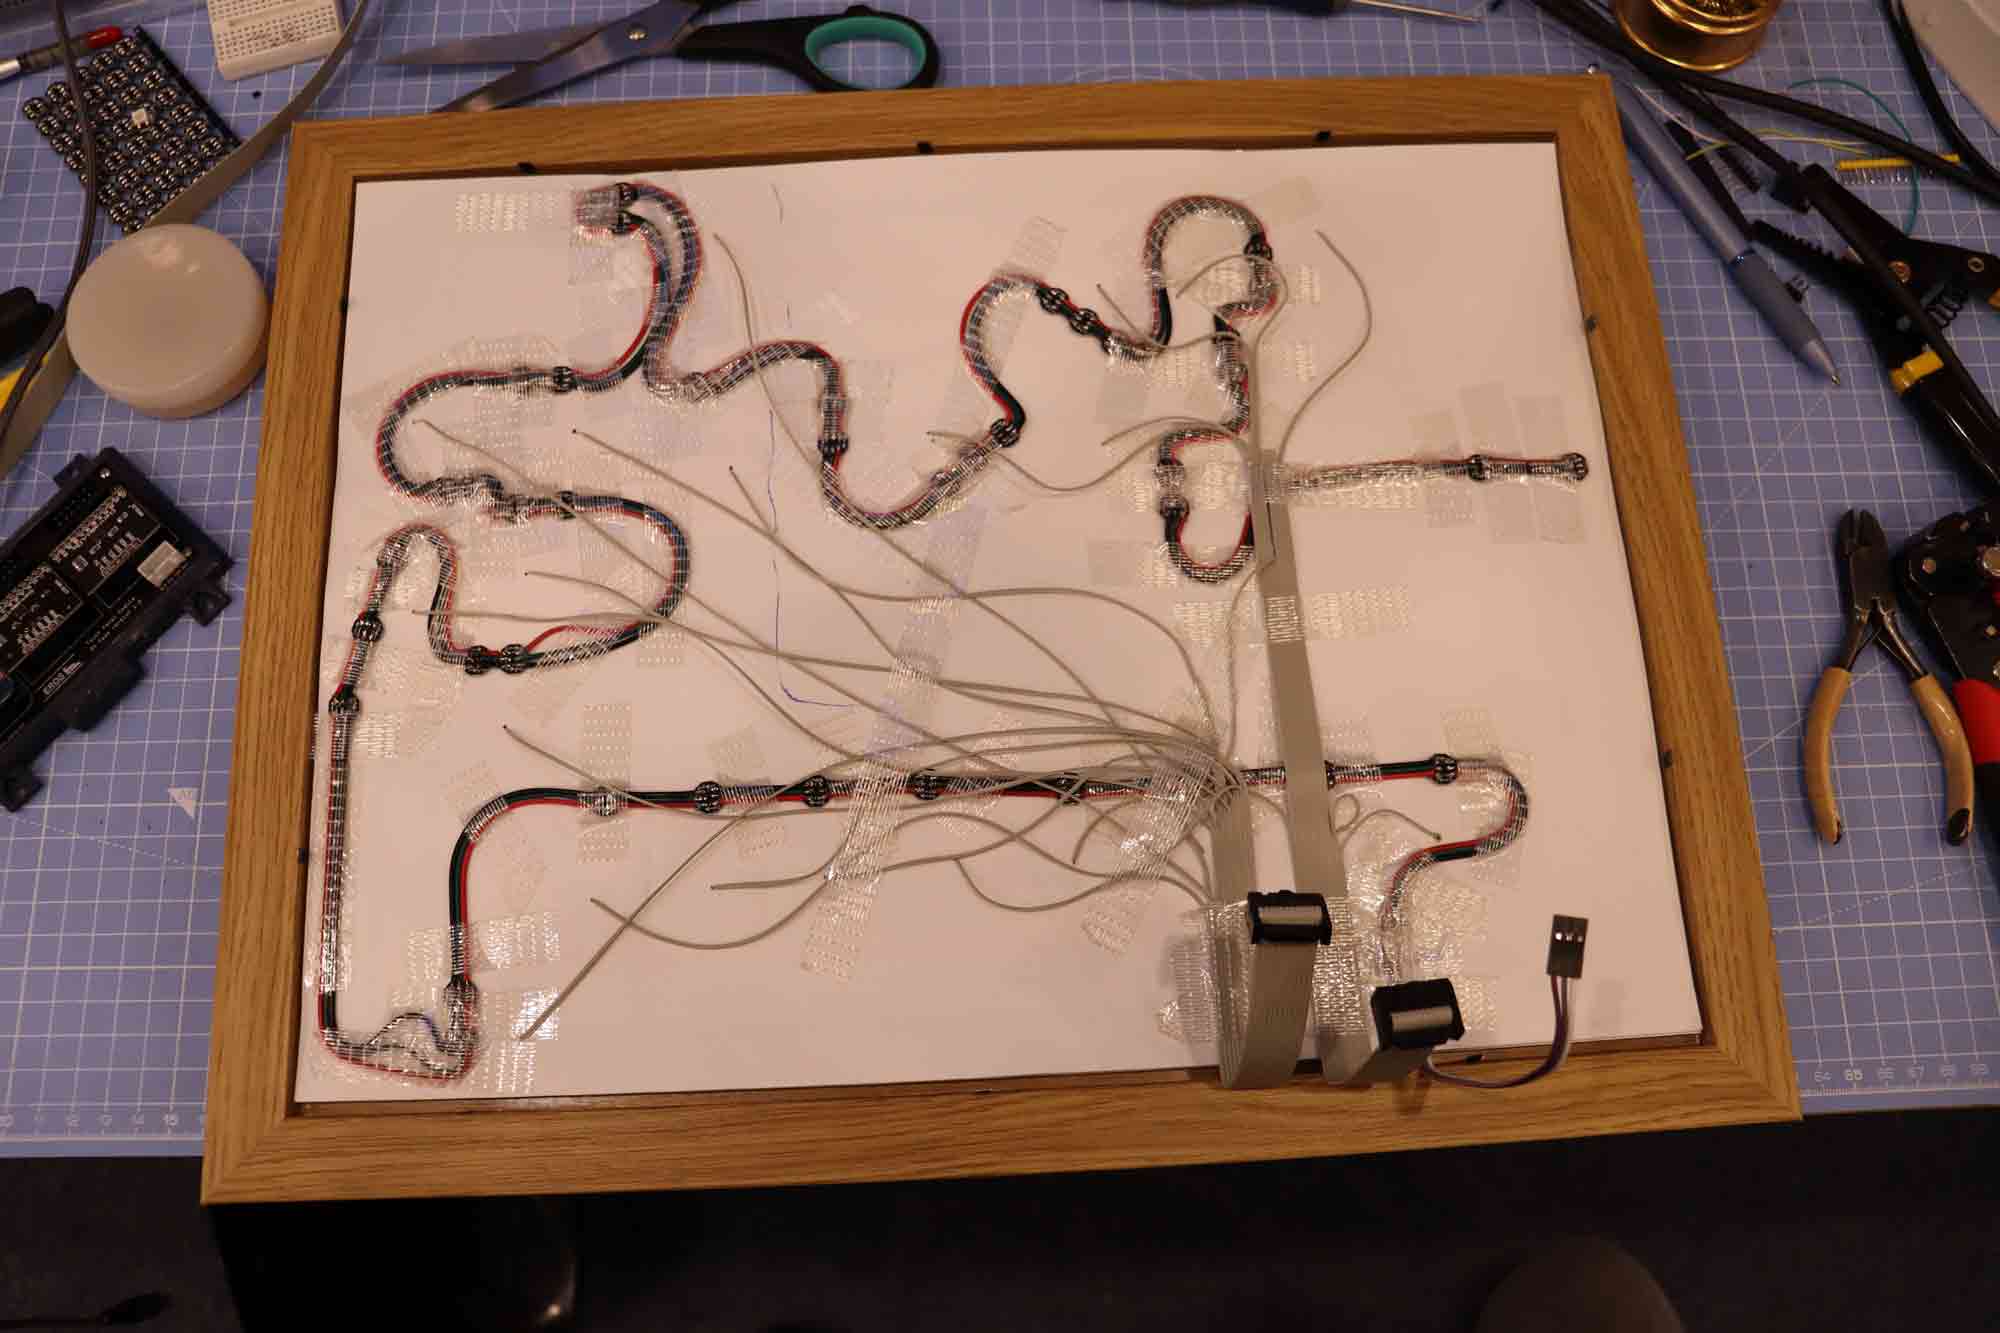
The back of the picture frame is added and the electronics mounted.